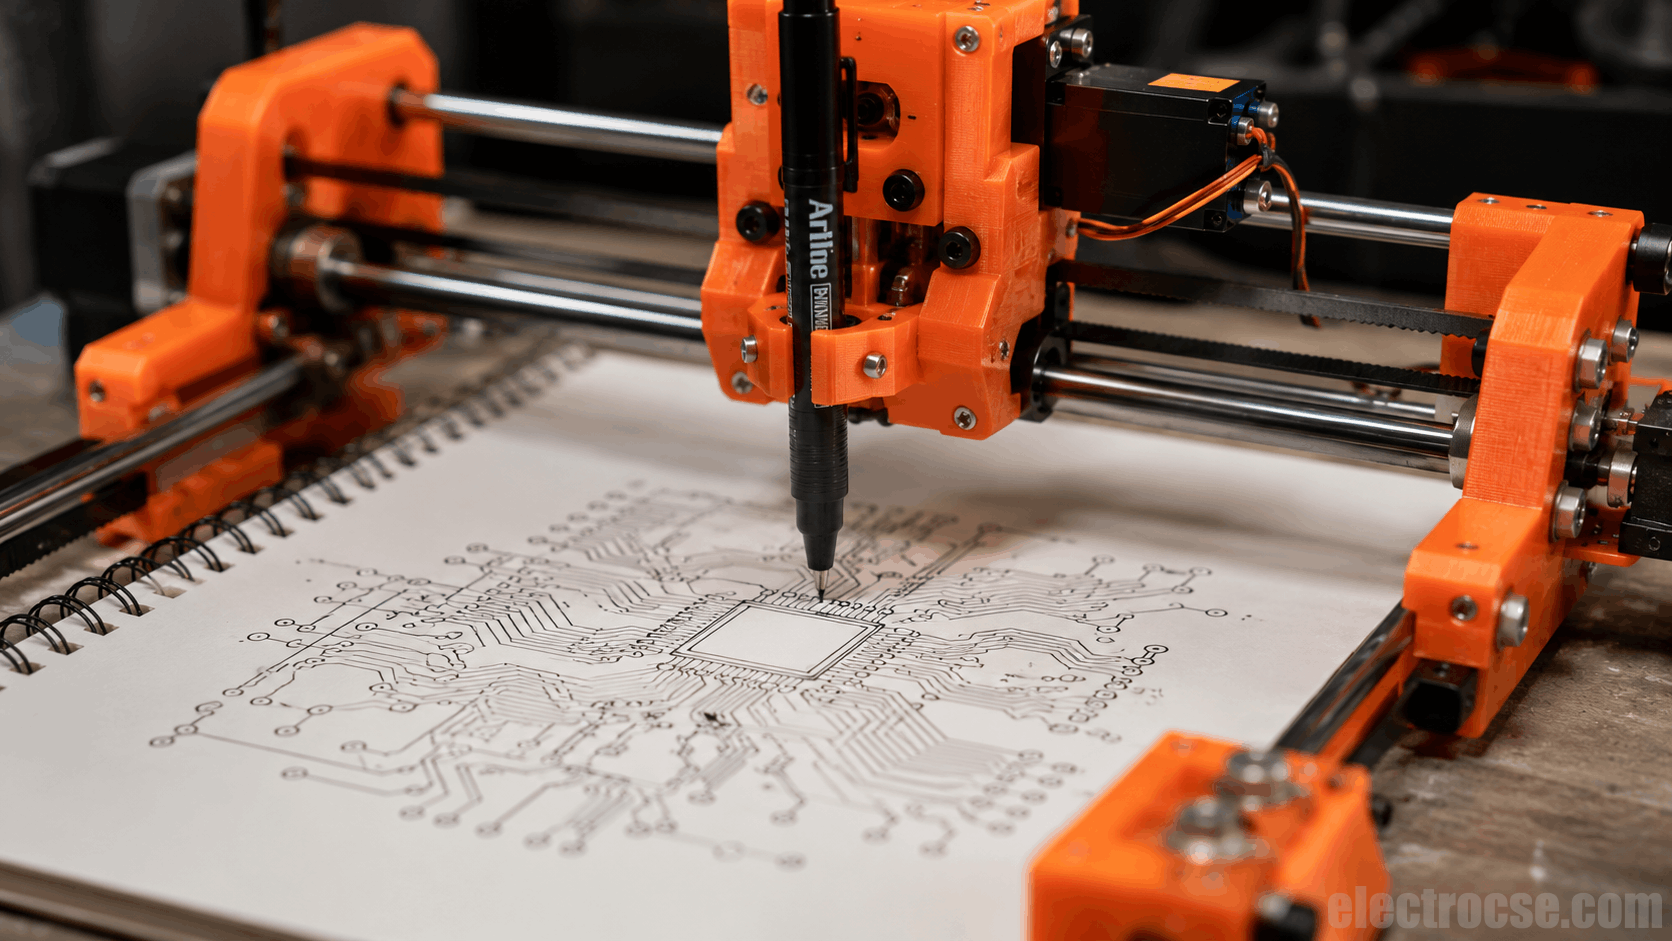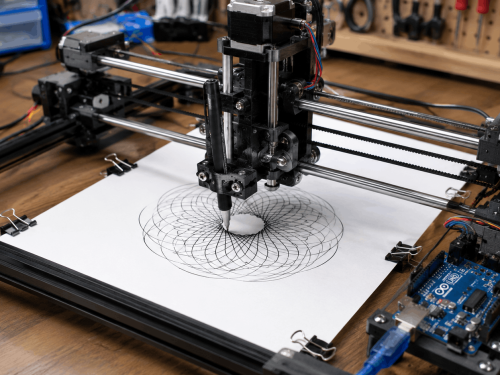

Build Your Own Arduino CNC Pen Plotter
Ever wanted a machine that can flawlessly draw, write, or sketch your digital designs onto real paper? That is exactly what a CNC Pen Plotter does.
Instead of using a heavy router bit or a laser, a pen plotter holds a simple marker or pen. It is controlled by a computer and an Arduino microcontroller to move along the X and Y axes, while a small servo motor lifts the pen up and down on the Z-axis.
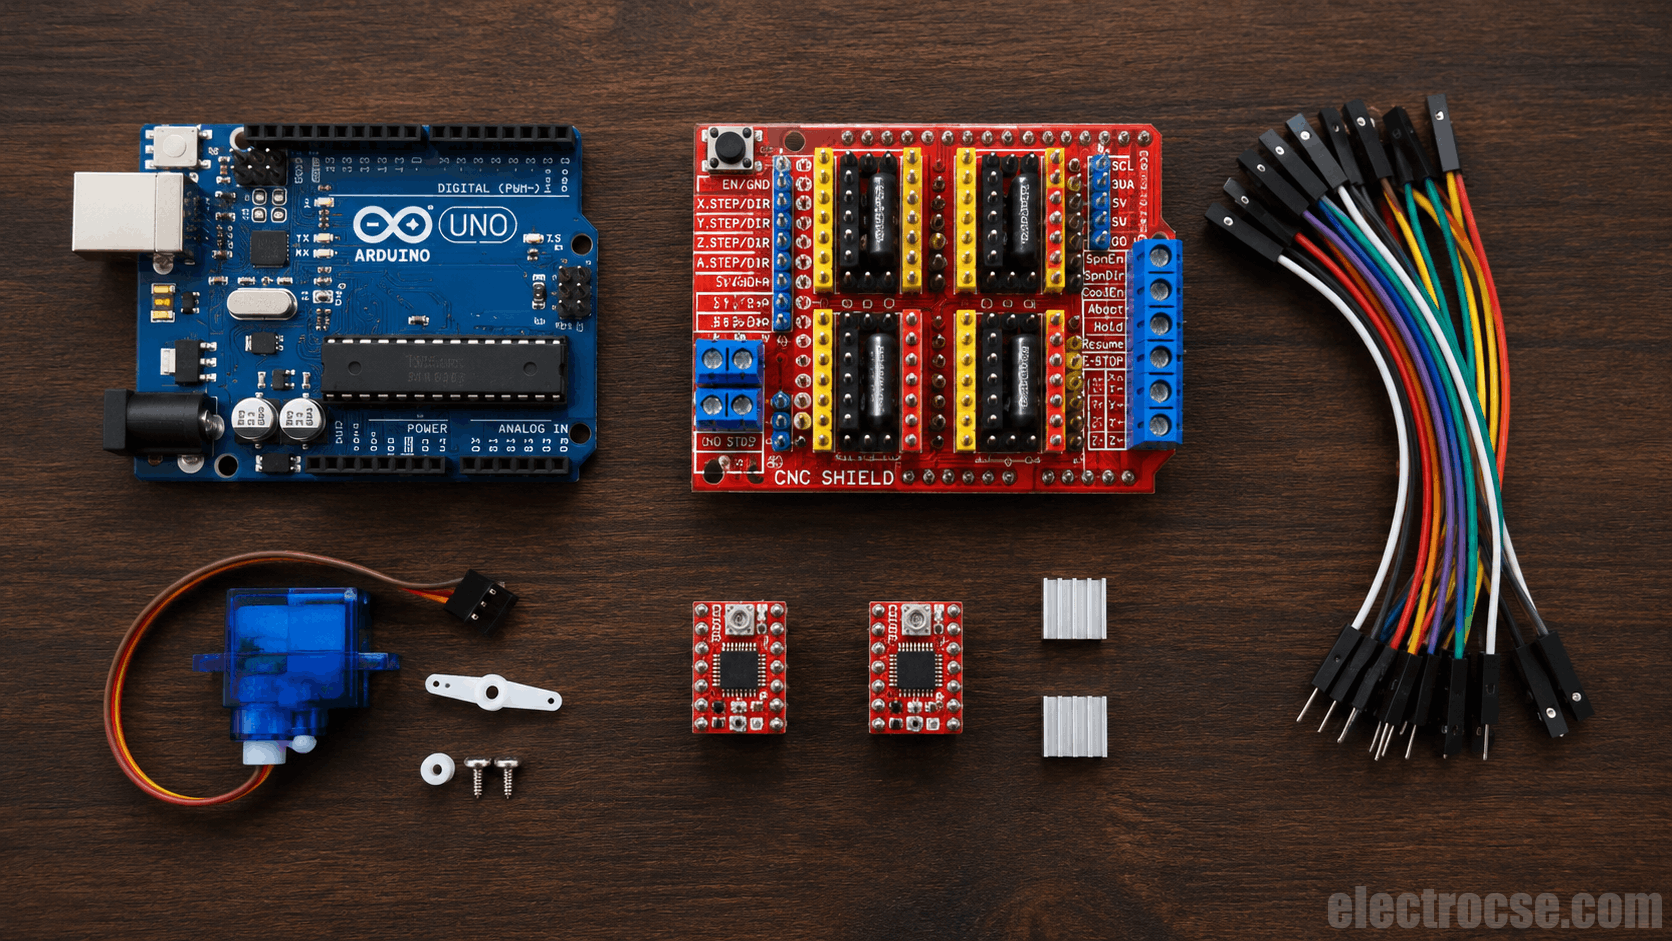
Building a CNC pen plotter is one of the most rewarding DIY projects for hardware enthusiasts. It is entirely doable with some basic tools, an Arduino UNO, a CNC shield, and a couple of stepper motors. Let’s dive into how you can assemble, wire, and program your very own drawing robot!
Time To Assemble Hardware Once you have all your parts ready, it is time to put the mechanical frame together. The frame holds your stepper motors (which control the movement) and lead screws (which turn the motor's spinning into straight, linear movement).
If you are a visual learner, I highly recommend watching my CNC Part-1 video (start at 5:08) to see exactly how I put the frame together.
Pro Tip for Assembly: Make sure everything rotates smoothly by hand before powering it up. Pay special attention to the X-axis stepper motor. The load on this motor must be less than 4.2 Kg. If it is too heavy, the motor will struggle, move slower, and pull more current. This can easily overheat and burn out your motor driver IC!
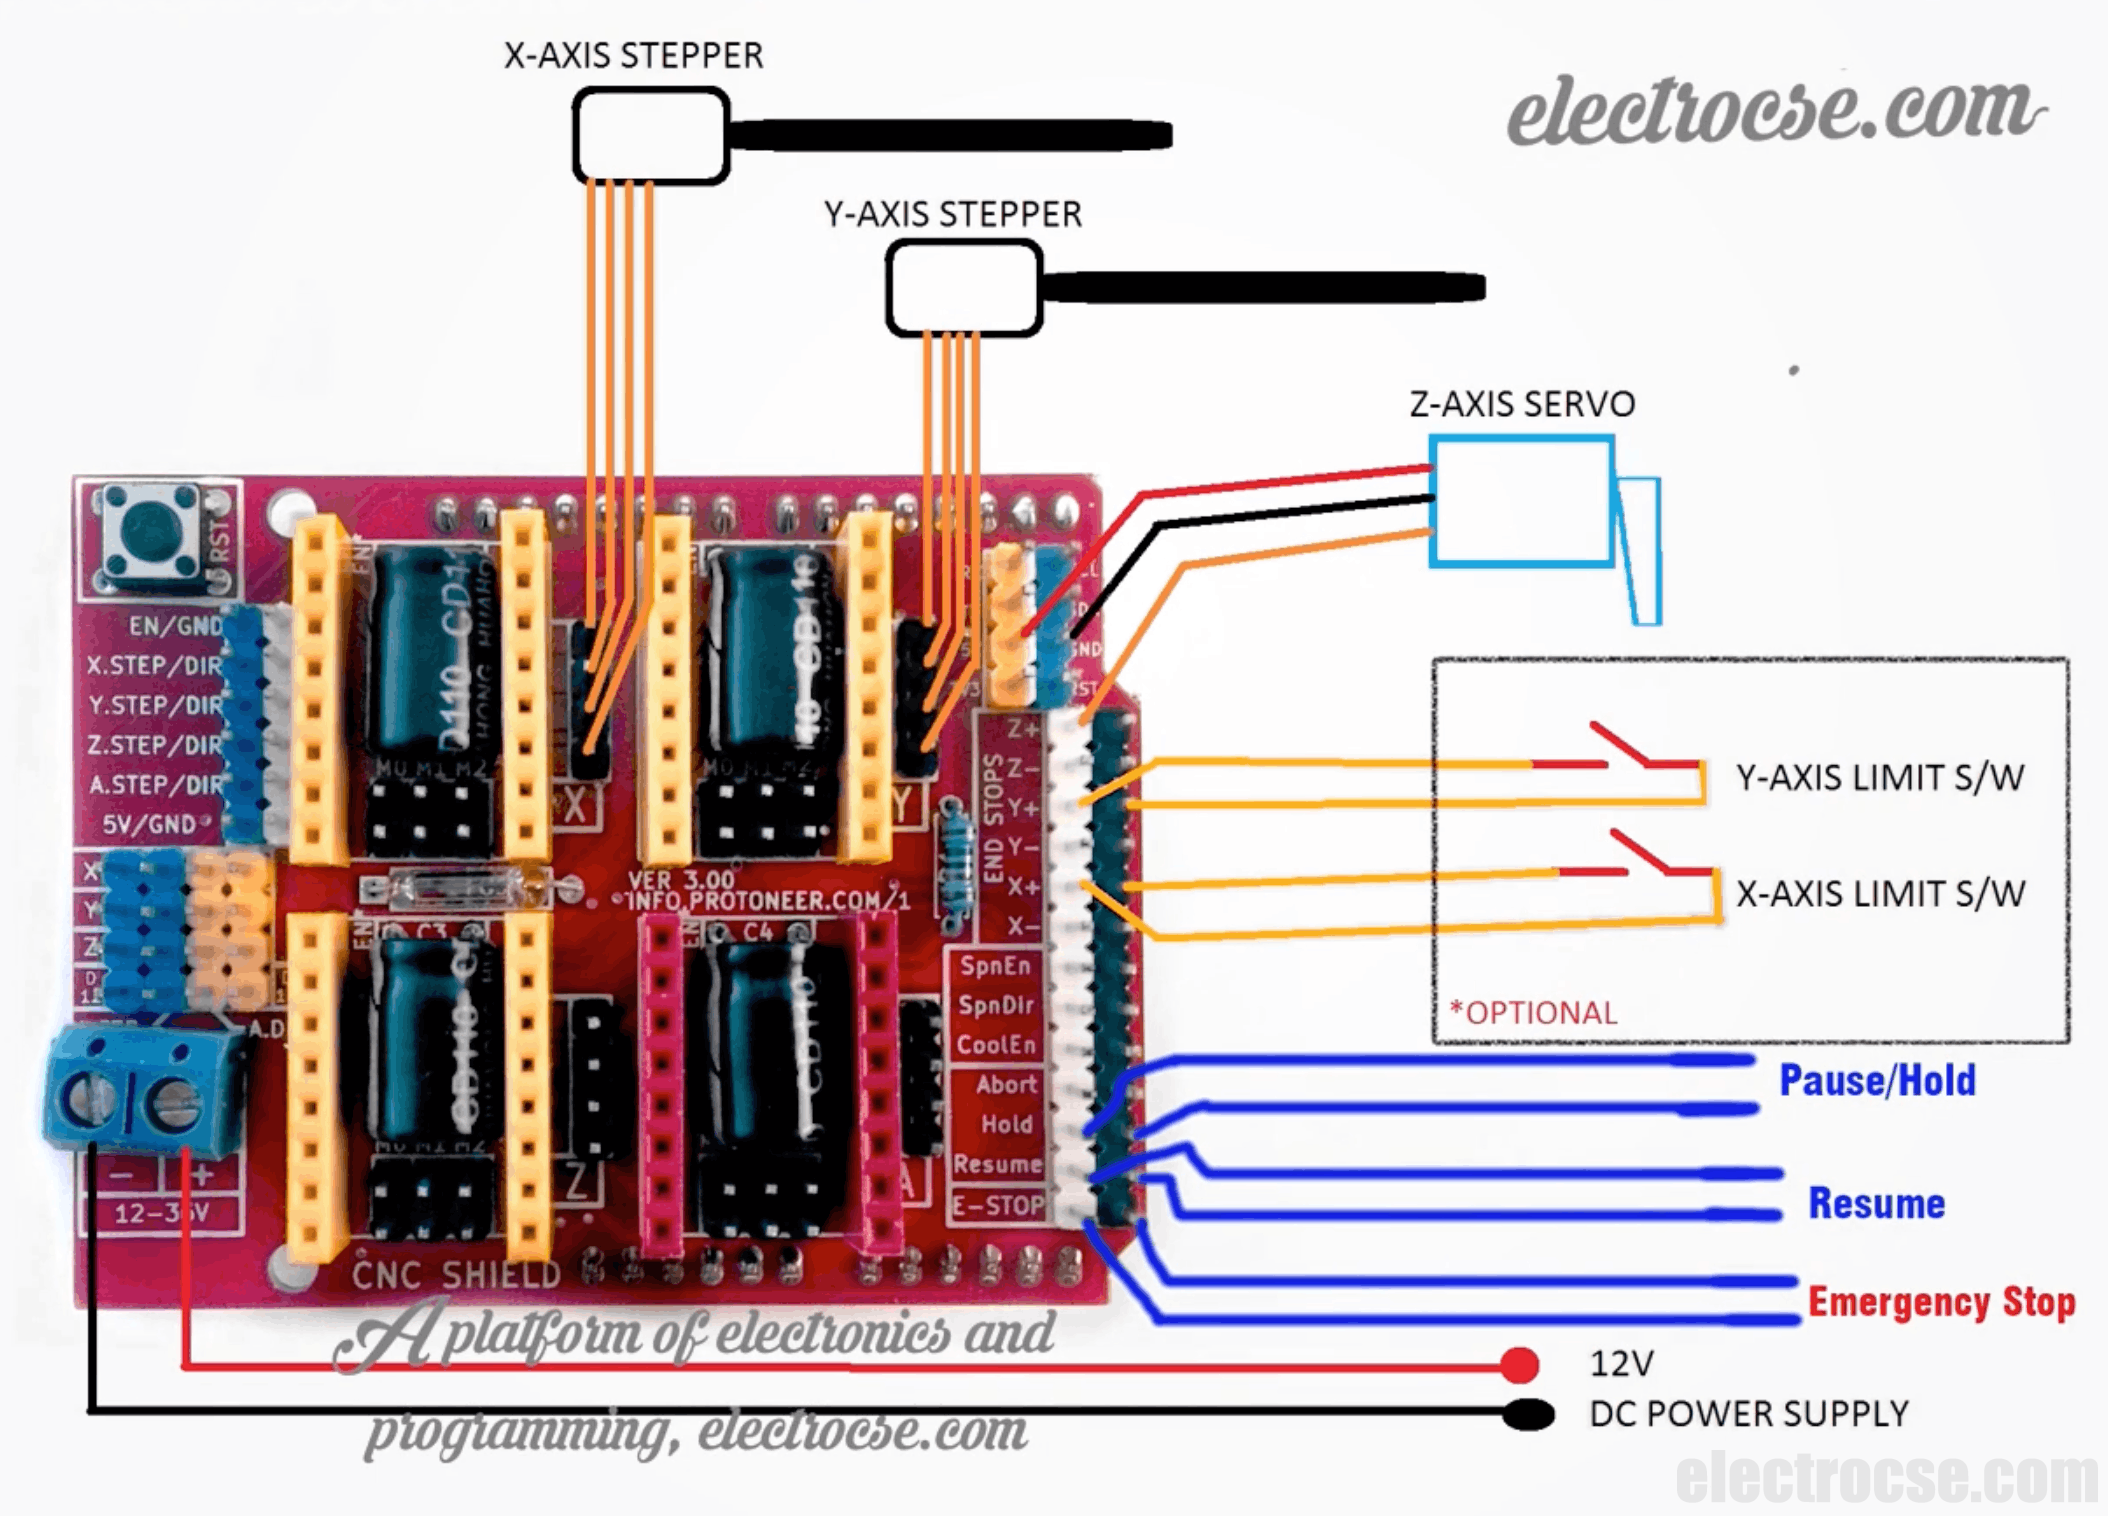
Circuit Diagram & Wiring Guide Now, let's connect the brain of the plotter. Grab your Arduino UNO, the CNC Shield, your stepper motors, and the power supply (SMPS).
One of the trickiest parts for beginners is wiring the Z-axis servo motor correctly. Here is the exact pinout you need to follow on your CNC shield:
- Red Wire (Power): Connect to the +5V pin on the CNC shield.
- Brown Wire (Ground): Connect to the GND pin.
- Yellow Wire (Signal): Connect to the Z+ pin.
Setting Up Micro-stepping and Motor Drivers To make your stepper motors move incredibly smoothly instead of vibrating violently, we use something called micro-stepping.
- Use jumpers (or solder them) to short the micro-stepping pins on the shield. This forces the motor to take tiny steps (1/16th of a standard step), resulting in highly precise drawings.
- Next, place your motor drivers (like the A4988 or DRV8825) onto the CNC shield. Be very careful here! Look for the EN (Enable) pin printed on the driver module, and match it perfectly with the EN pin printed on the CNC shield before pushing it in.
(Note: Don't forget to watch my CNC Part-2 video to see exactly how to place these components safely.)
Required Software & Libraries for the CNC Pen Plotter
Building the hardware is only half the battle. To make your plotter actually draw, you need the right software to send G-Code (movement instructions) to the Arduino.
A common issue beginners face is downloading mismatched versions of different tools from various websites. This almost always leads to frustrating compiling errors, library conflicts, or a machine that just won't move.
Download the Complete CNC Software Bundle – ₹49 To save you hours of searching and troubleshooting, I have bundled all 6 required project folders into one pre-tested, ready-to-use ZIP file.
What’s inside the bundle?
- GRBL Controller & GRBL Library: Specific, matched versions guaranteed to work together without compiling errors.
- MI Inkscape Extension: Pre-configured to work flawlessly with Inkscape to turn your images into perfect drawing paths.
- Sample G-Codes: Ready-to-use test files so you can run your first plot instantly.
- Complete Project Files: All remaining necessary drivers and tools in one place.
[ Download the Complete CNC Bundle – ₹49 ]
Why a minimal fee? While the core software is open-source, finding, testing, and configuring the exact matching versions takes hours of trial and error. This small fee saves you that headache. 100% of this goes towards covering ElectroCSE’s server costs, helping keep this website running so I can create more free tutorials for you.
📬 How to get your files: After successful payment, you will instantly receive an email from ElectroCSE with your secure download link. If you face any issues, just email your payment screenshot to electrocse@gmail.com, and we will sort it out within 24 hours. Happy building!