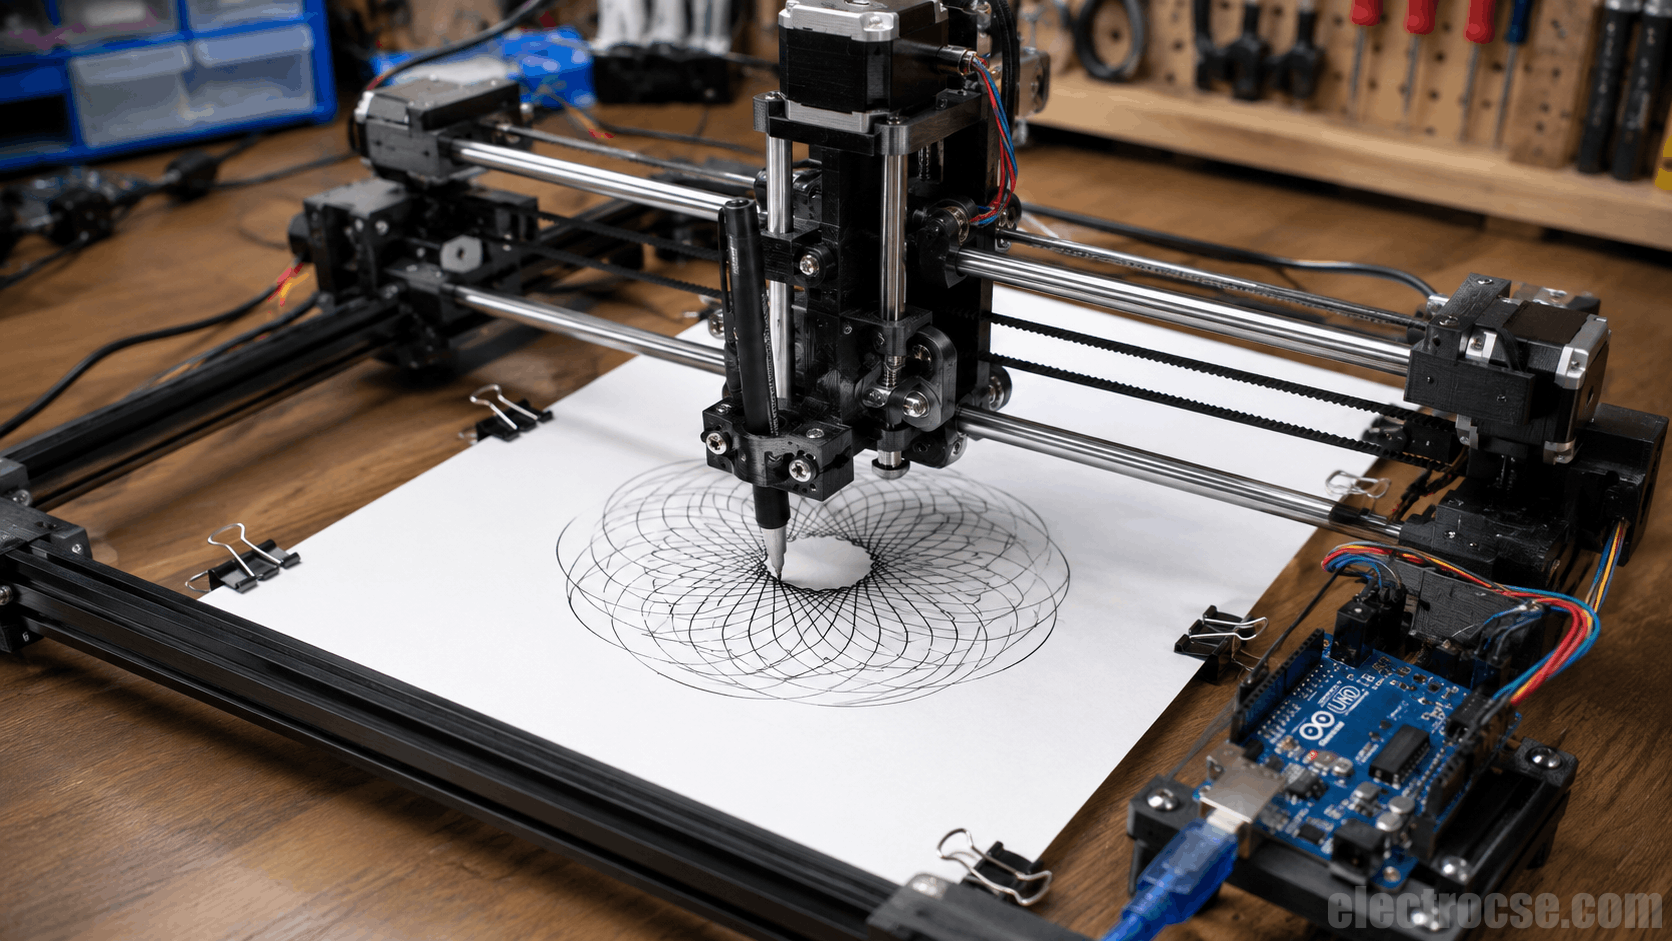

The Ultimate 2D CNC Pen Plotter Guide: Software Setup and Operation
Welcome to the complete guide on operating your DIY 2D CNC Pen Plotter! If you have already built your machine, you are exactly where you need to be. (If you haven’t assembled yours yet, be sure to check out Part 1 of our video series on the YouTube channel for the full hardware assembly guide).
In this tutorial, we are diving deep into the software installation, connecting your machine, and the exact workflow you need to start creating incredible drawings and engravings.
(Note: If you don’t have a machine yet, you can order a complete CNC kit online in India via shopmakerkq.com, with delivery typically taking 5-6 days).
📥 Required Software & Libraries for the CNC Pen Plotter
Getting the hardware built is only half the fun. To make your plotter actually draw, you need the right software to send G-Code to the machine.
A common issue beginners face is downloading mismatched versions of different tools, which leads to frustrating compiling errors or a machine that just won't move. To save you from this headache, I have bundled all 7 required project files into one single, high-speed download.
What’s inside the bundle?
- Universal G-Code Sender (UGS): The specific GRBL controller version required to run this CNC without errors.
- 4xi Draw & Laser Inkscape Extensions: Configured to work flawlessly with Inkscape to turn your images into perfect drawing paths.
- Drawbot Image to G-Code (v2.2): Essential conversion tools.
- Processing Software: The exact version required to properly run the Drawbot extensions.
- Tested Core Software: The exact versions of Arduino IDE and Inkscape that I used in the video tutorial.
- Complete Project Files: All remaining necessary drivers and tool integrations.
- Sample G-Codes: Pre-tested files so you can run your first plot and test your machine instantly.
[ Download the Complete CNC Software Bundle – ₹99 ]
Why a minimal fee? While the core applications are open-source, finding, testing, and configuring the exact matching versions takes hours of trial and error. This ₹99 token fee saves you that time. 100% of this goes directly towards covering ElectroCSE’s server hosting costs, keeping this website online so I can continue creating free, high-quality tutorials for you. Thank you for supporting the project!
📬 How to get your files: Immediately after payment, our automated system will email you a secure download link containing all the folders. If you face any issues, simply email a screenshot of your payment to electrocse@gmail.com, and my team will sort it out for you within 24 hours.
1. Software Installation & Setup
Once you have downloaded and extracted the bundle above, it's time to set up the core software:
- Universal G-Code Sender (UGS): Open the extracted folder, navigate to the "bin" folder, and run the executable file named
ugsplatform64.exe(orugsplatformif you are on a 32-bit system). - Inkscape Extensions: To ensure your CNC reads your designs correctly, install the provided Inkscape extension (version 0.92) by pasting the extension files into Inkscape's extension directory.
- Laser Tools (Optional): If you are using the laser tool integrations, copy those files into your UGS extension folder. You can verify this worked by checking if the "Laser Tool" option appears in your software menu.
2. Connecting & Initializing Your CNC
- Connect your CNC machine to the power supply, and plug the USB cable into your computer.
- Open Device Manager on your PC to check which COM port your Arduino is connected to (e.g., COM3 or COM4).
- Open UGS, refresh the port list, select your active COM port, and set the baud rate (usually 115200). Click Connect.
- Pen Calibration: It is crucial to calibrate your pen height before starting. You can control the pen's up and down movements using specific G-Code commands in the console (for example, typing
M03 S18to lower the pen).
3. Basic Commands & UGS Controls
Universal G-Code Sender is the control center for your machine. Here are the basic shortcuts you need to know:
- F1: Select your G-code file path.
- F2: View all G-code paths visually.
- M03 S10 / M03 S18: Controls the pen up/down servo movement.
- Reset Zero (Home): Sets your current physical position as the starting origin point.
- Return to Zero: Moves the CNC head exactly back to your defined starting point.
Pro Tip: Always verify your machine's calibration by jogging the motors incrementally (e.g., move it 10mm or 20mm in the software) and using a ruler to check if the physical movement exactly matches the software input.
4. G-Code Management & Live Preview
- Create a dedicated “G-codes” folder on your Desktop to keep your generated files organized (like
spiral.g). - Load your G-code into UGS using the file menu.
- Always use the Live Preview! Before hitting start, look at the visualizer to ensure your drawing stays within the physical boundaries of your paper. This prevents the machine from crashing into its physical limits.
5. Drawing, Text, & Image Handling
Your CNC can plot everything from simple text to complex portraits:
- Images: Import your SVG or PNG files into Inkscape. Hold
Ctrlwhile dragging the corners to resize them without distorting the shape. Make sure your images have a pure white background. - Text: You can type text directly into Inkscape. By adjusting the "fill parameters" (like fill angle and intensity), you can choose whether the machine draws a hollow outline or colors in solid text.
- Shading: Use the Fill (heavier drawing) and Hatch (angled line patterns) options within the extensions to simulate beautiful shading and depth in your artwork.
6. Advanced Settings for Perfect Prints
To get the highest quality plots without stressing your machine, keep an eye on these settings:
- Travel Speed: The default is usually around 10,000 mm/min. Lower this speed for highly detailed, intricate drawings to prevent ink bleeding or motor skipping.
- Axis Synchronization: Ensure your speed and steps-per-millimeter for each axis (X, Y) are configured correctly in the firmware settings.
- Passes: The PASS setting controls how many times the pen traces the same exact line (up to 4 passes). This is perfect if you want darker lines or are using a laser for deeper cuts.
- Reversing Direction: If your drawing comes out mirrored, you will need to update the direction invert mask values in your GRBL settings, recalibrate your Zero position, and restart the job.
Conclusion
Operating a 2D CNC Pen Plotter is incredibly rewarding once your software is perfectly synced with your hardware. By following these steps, utilizing the pre-configured software bundle, and always double-checking your live preview, you will be plotting flawless designs in no time.
If you found this guide helpful, watch the full video tutorials below to see these exact steps in action!